Quickstart guide
Let's discover Azbox in less than 5 minutes.
Whether you are migrating to Azbox or just getting started, we're happy to have you! This checklist walks through getting set up as fast as possible. If you haven't done so already, head to azbox.io to set up your account.
Create a new project
Your project will be your operational base for managing your apps and translations. You can have multiple projects in your account, depending on your needs and the plan you have.
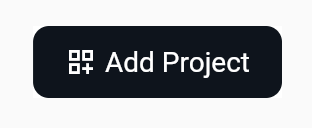
You can create a new project by clicking the Create Project button in the top right corner of the dashboard.
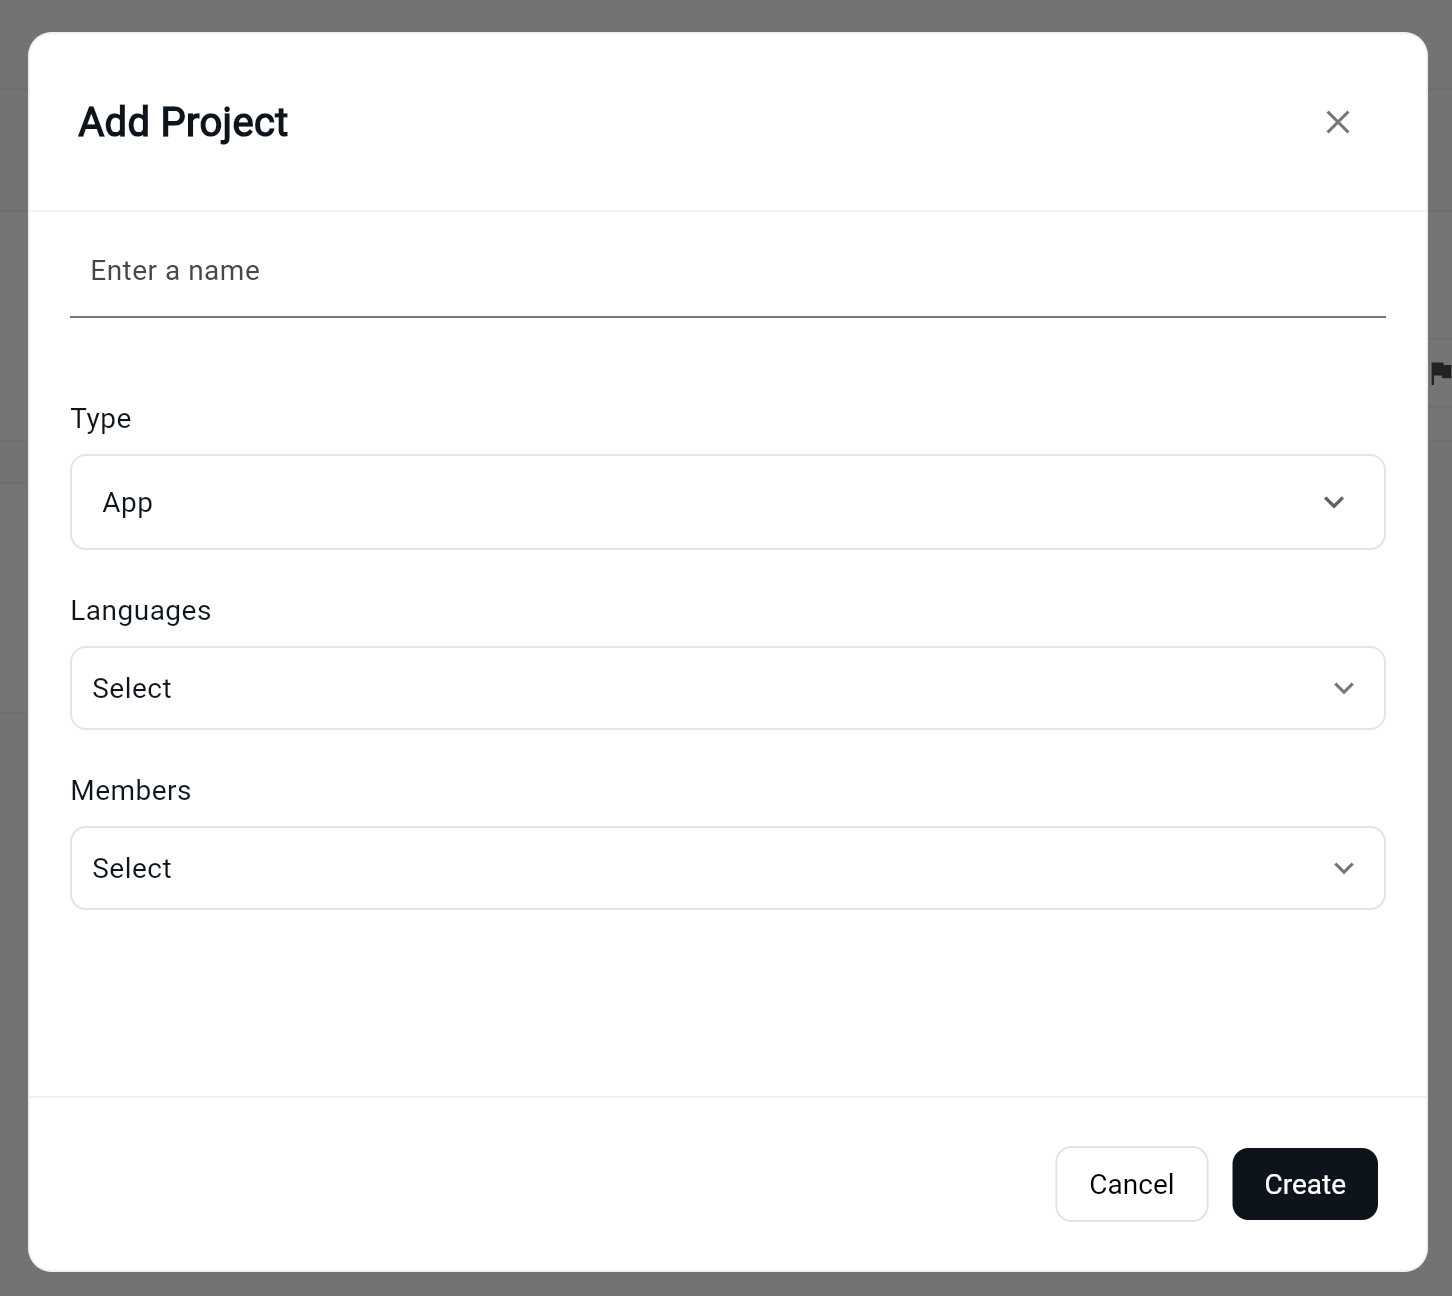
A popup will appear where you can set your project name, type, languages and members.
Add keywords to your project
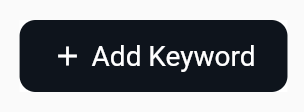
To add keywords to your project, you can click the Add Keyword button in the top right corner of the project card.
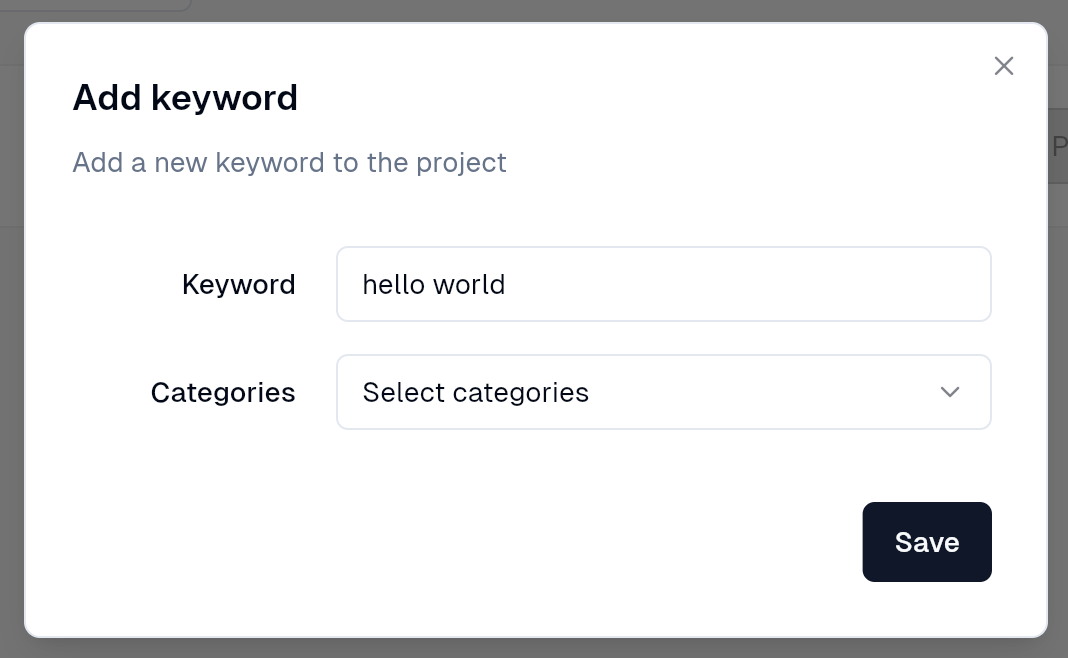
A popup will appear where you can add keywords to your project.
Translate a keyword
First, expand the keyword options by clicking the expand button on the right of the keyword card.

Then, click the Translate button on the right of the keyword card.

Then the keyword will appear translated in the languages you have configured in the project.

Here you can also:
- Assign a category to the keyword
- Edit or delete the keyword
- Add translations manually
- Modify automatic translations
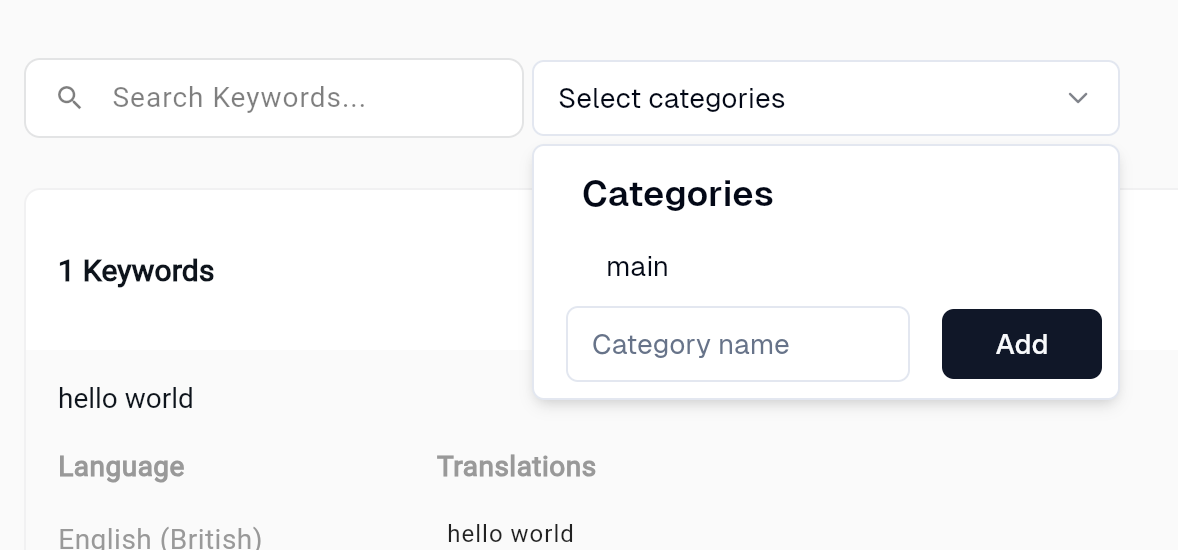
Categories
Categories are a way to group keywords together. You can create as many categories as you want.
To create a new category, first, expand the Select categories dropdown menu, then you can assign a name to the category and click the Add button.
Here you can filter keywords by category. Categories can represent different elements of your application or website such as:
- Screens
- Web pages
- Sections
- Blocks